
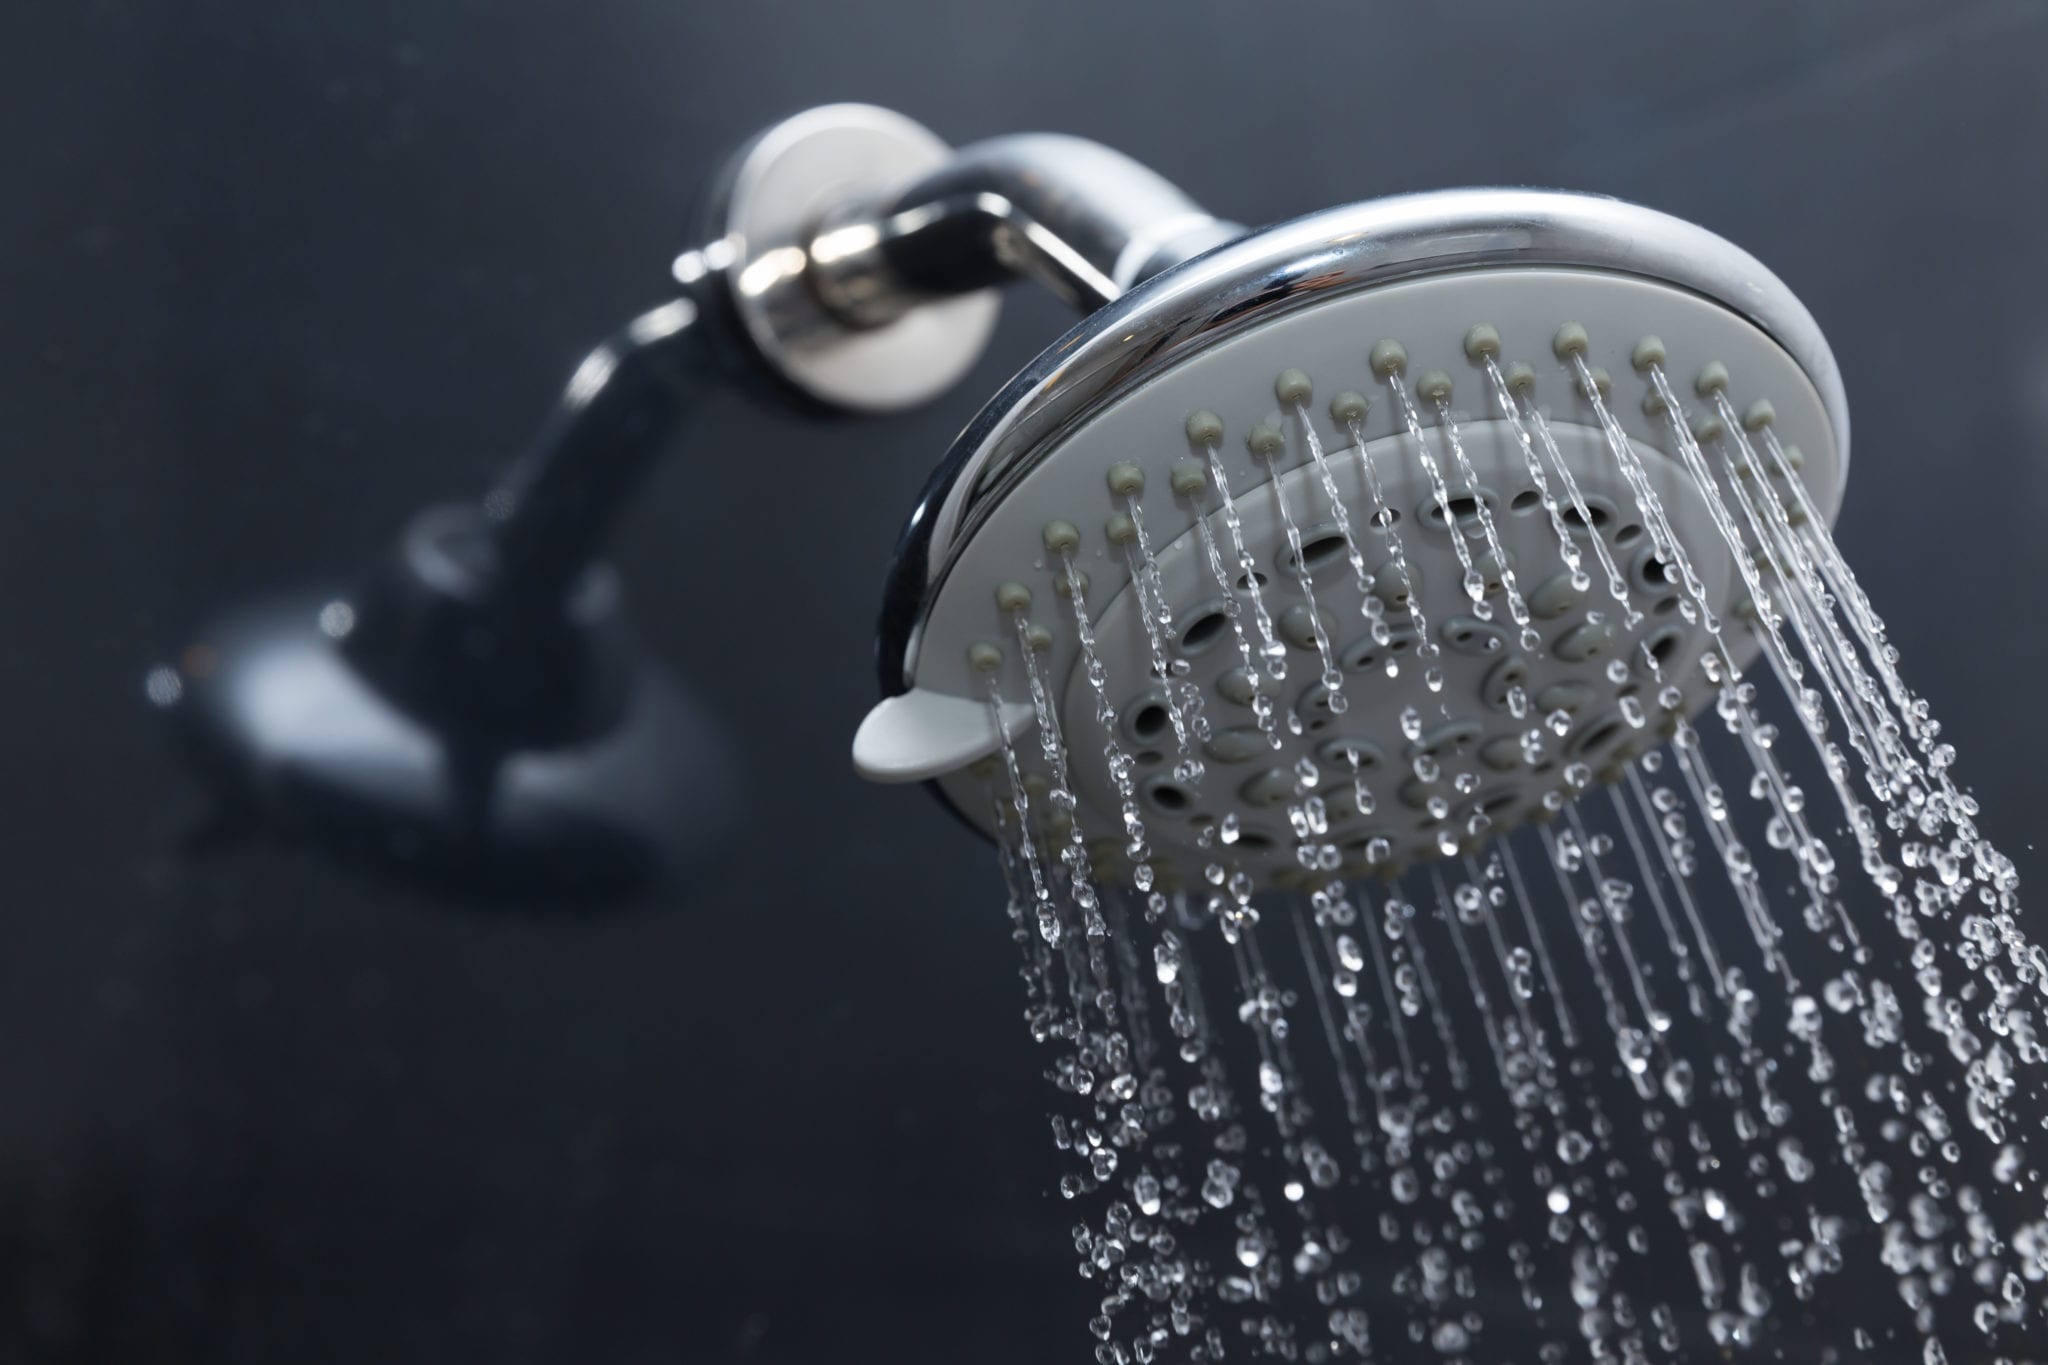
There is not much that beats a hot shower in the morning when you’re trying to wake up or at the end of the day when you’re trying to wind down. However, there’s nothing more annoying than stepping into the steam only to find that your shower head is leaking or has weak water pressure.
While some leaky faucets may require a plumber, dealing with your dripping shower head is something that you can do on your own. You don’t even need specialty tools or a lot of experience to tackle the job, either. Use this guide to learn more about how to fix a leaky shower head in your bathroom so you can get back to taking those nice, hot showers in peace.
Table of Contents
Understanding the Problem
You’re in the shower and you’re watching water drip from the shower head onto the floor before you’ve even touched the faucet. You’ve got a dripping shower head, right? In most cases, this means you most likely have a problem with your faucet valve stem or valve cartridge.
The good news is that the process of learning how to fix a leaky shower head is relatively simple.
How to Fix Your Dripping Shower Head
Learning how to fix a leaky shower head is something you can probably do in an afternoon. Use this step-by-step guide below to help you stop that annoying leak:
Step 1: Turn the water supply off. You may be able to control this directly from the bathroom. Some homes require you to turn the entire water supply off. Either way, you’ll need to do this prior to fixing a dripping shower head.
Step 2: Cover the bottom of your shower or tub with a soft towel. This will keep your finish from getting damaged if you drop a tool or create a difficult scuff with your shoes while fixing the leaky shower head.
Step 3: Check the leak to see which side is the problem if you have a two-valve system. In most cases, the water will be hot if the hot side is the problem.
Step 4: Take the handles or knobs on your shower off. Remove the faceplates and sleeves as well.
Read More: How to Replace a P-Trap Pipe
Step 5: Unscrew the valve stem or cartridge with an adjustable wrench. Depending on your brand, you may need a specific tool to complete this job.
Step 6: Get a replacement valve stem or cartridge. You can order these online, but most hardware stores will have a suitable replacement you can pick up the same day. You’ll want to replace all related washers and O-rings too.
Step 7: Clean the inside of the faucet area with an equal mixture of plain white vinegar and water with a spray bottle. This will clear mineral deposits that can damage the new valve stem or cartridge you’re installing faster.
Step 8: Put the new valve stem or cartridge in place. Most models require a clockwise turn to secure the new valve stem or cartridge, but not all models are the same.
Step 9: Replace the sleeves, faceplates and faucets. Check to make sure they’re secure.
Step 10: Test the new system by running the water for about 30 seconds. In most cases, your problem will be fixed completely!
Still got a problem with your shower leaking? Reach out to the professionals at Fenwick Home Services to get the help you need. We also offer other plumbing repair services such as gas line repair, 24 hour plumbing, and tankless water heater repair to meet your unique requirements.
Read More: Why Does My Central Air Conditioner Smell Like Chemicals?
24 Hour Plumbing Repair & Install Services in Jacksonville, Florida
Call Us: 904-217-5694
If you need assistance learning how to fix a leaky shower head, broken water heater, or malfunctioning water softener, our team is able to accommodate your issue.